How to Start Crochet as a Complete Beginner: Holding the Yarn and Hook
My first chain was crooked and my first square was not square at all. Every crocheter starts there. If you are holding a hook for the first time, this guide is for you.
Fozia Mirza, crochet artist, Sukkur
Starting crochet can feel confusing. Which hand holds the yarn? How do you hold the hook? Why does your work look so messy? This simple guide answers the questions every beginner has, so you can relax and start making your first stitches today.
What you need to start
- Yarn: a smooth, light-coloured yarn in medium thickness, such as 8 ply (DK). Light colours make it easier to see your stitches. Avoid fluffy or very dark yarn at first.
- A crochet hook: a 4 mm to 5 mm aluminium hook is perfect for beginners. If your hands get tired, choose one with a soft ergonomic handle.
- Small scissors and a blunt needle to hide the yarn ends.
Not sure which hook or yarn to buy? Read our guides on types of crochet hooks, the crochet hook size chart by wool ply and what 2 ply, 3 ply and 4 ply wool means.
Step 1: Hold the yarn in your left hand
If you are right-handed, your left hand controls the yarn and your right hand moves the hook.
- Let the yarn coming from the ball run between your little finger and ring finger of the left hand.
- Bring it across your palm and wrap it over your index (first) finger.
- Hold your work just below the hook with your thumb and middle finger.
- Lift your index finger slightly. This keeps the yarn a little tight, which is called tension.
Good tension means the yarn flows smoothly: not so tight that the hook gets stuck, and not so loose that the loops become floppy. Some people wrap the yarn twice around the index finger, or once around the little finger, for extra control. Try a few ways and keep the one that feels natural.
Left-handed? Simply swap hands: hold the hook in your left hand and the yarn over the index finger of your right hand.
Step 2: Hold the hook in your right hand
There are two common ways to hold a crochet hook. Both are correct.
Spoon grip (knife grip)
You hold the hook from above, the way you hold a spoon or a knife while eating. Your palm faces down and the handle rests under your palm. Many people find this grip strong and comfortable, especially with thicker yarn and bigger hooks.
Pencil grip
You hold the hook between your thumb and index finger, resting on your middle finger, just like holding a pencil to write. This grip gives fine control and many people love it for small hooks, thin yarn and detailed work.
Step 3: Make your first stitches
Once you are comfortable holding the yarn and hook, start with these basics in order:
- Slip knot: the loop that puts the yarn on your hook.
- Chain stitch (ch): make a long chain of 20 to 30 stitches. This builds your rhythm.
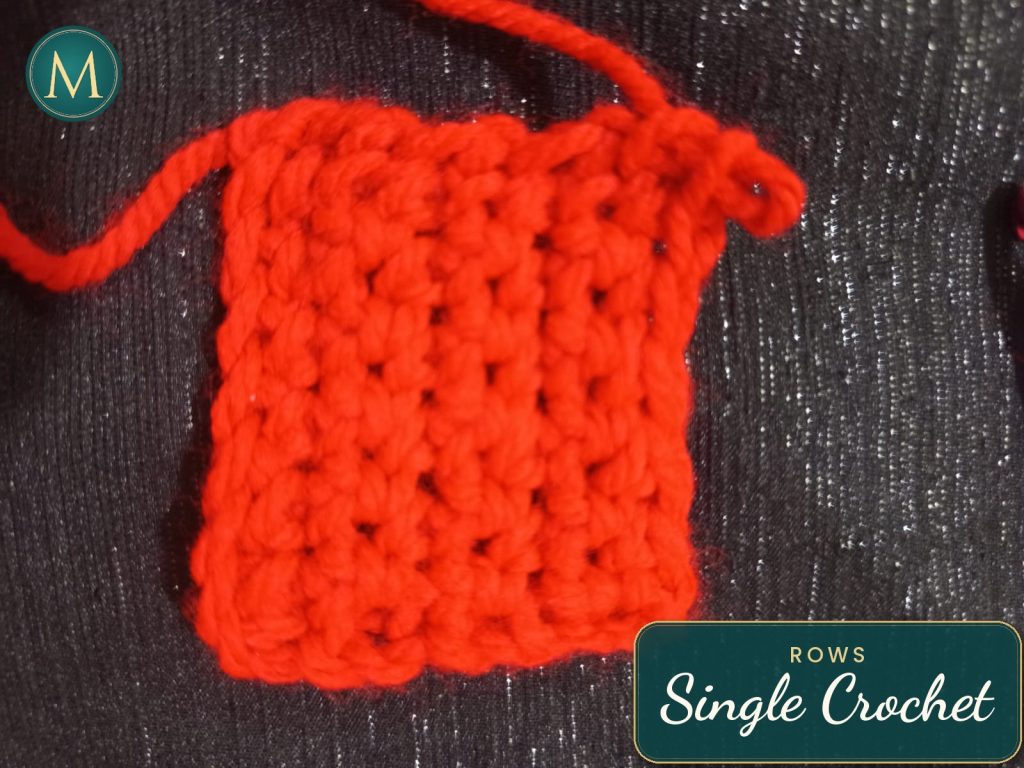
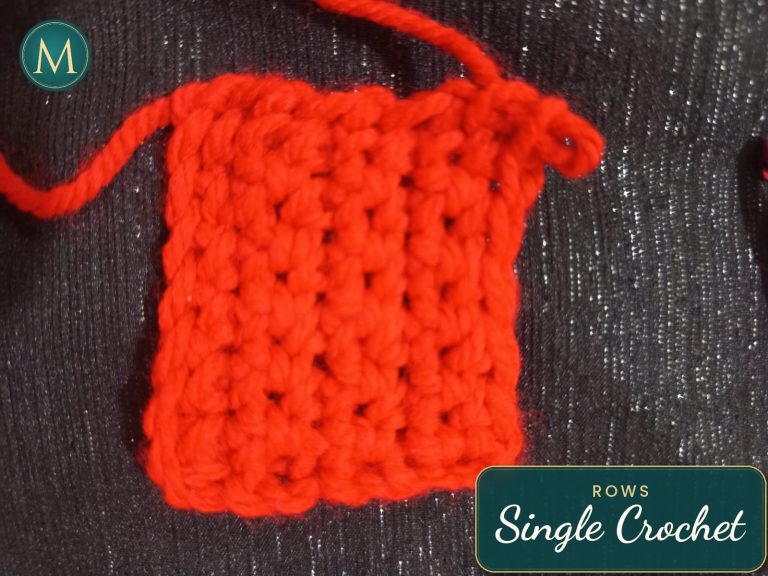
- Single crochet (sc): work rows of single crochet into your chain to make a small square.
- Half double crochet (hdc) and double crochet (dc) when you feel ready.
You can watch my real videos of each stitch in our Crochet Stitches Guide, where every step is shown slowly, with English notes.
Your first piece will look messy, and that is normal
It is not necessary to make something beautiful on your first try. Most beginners make a first piece that looks uneven: some stitches tight, some loose, edges going in and out, and a square that turns into a triangle. That is not failure. That is learning.
With practice, your hands learn the movements by themselves. Your tension becomes even, you start counting stitches without thinking, and one day you will look at your work and see neat, straight rows. Practice is what turns a beginner into a pro.
Tips that help beginners improve faster
- Practise a little every day. Fifteen to twenty minutes daily is better than three hours once a week.
- Relax your hands. If your fingers hurt, you are holding the yarn or hook too tightly.
- Count your stitches at the end of each row so your edges stay straight.
- Do not throw away your first pieces. Keep them and compare after a month; you will be surprised how much you have improved.
- Pull it out and try again. Undoing stitches (frogging) is part of crochet, even for experts.
A simple first week plan
| Day | What to practise |
|---|---|
| Day 1 to 2 | Holding yarn and hook, slip knot, long chains |
| Day 3 to 4 | Rows of single crochet on a chain of 15 |
| Day 5 to 6 | Half double crochet rows, counting stitches |
| Day 7 | Make a small square coaster in single crochet |
Common beginner questions
Is it okay to hold the hook differently from a video?
Yes. Spoon grip and pencil grip are both normal. Choose the one that feels easy for you.
Why are my stitches so tight?
You are probably pulling the yarn too hard with your left hand. Relax your index finger and let the yarn slide. A slightly bigger hook also helps.
How long does it take to learn crochet?
Most people can make basic stitches within a few days. Neat, even work usually comes after a few weeks of regular practice.
What should I make first?
A coaster, a small square or a simple scarf. Easy, flat projects let you practise one stitch again and again.
Handmade with care at Mazagia
Every Mazagia piece is crocheted by hand, one stitch at a time, with the same patience I hope you give your own first stitches. If you would love a custom baby dress, cardigan or jacket, message us on WhatsApp.